Proxmox HTTPs Certificates
Ordering LetsEncrypt certificates for your Proxmox servers is almost too easy, no more self-signed certificates!
I recently set up a local Pihole DNS server and configured some local-only A
records. One of which is targe.pve.kgb33.dev, my main Proxmox (pve) server.
Now, instead of https://10.0.0.101:8006/ I can navigate to
https://targe.pve.kgb33.dev:8006/.
Except it’s not that easy.
The dev. top level domain is on the HSTS Preload
List, which forces a HTTPs connection
with a valid (not self-signed) certificate. Thankfully, Proxmox has a builtin
ACME client.
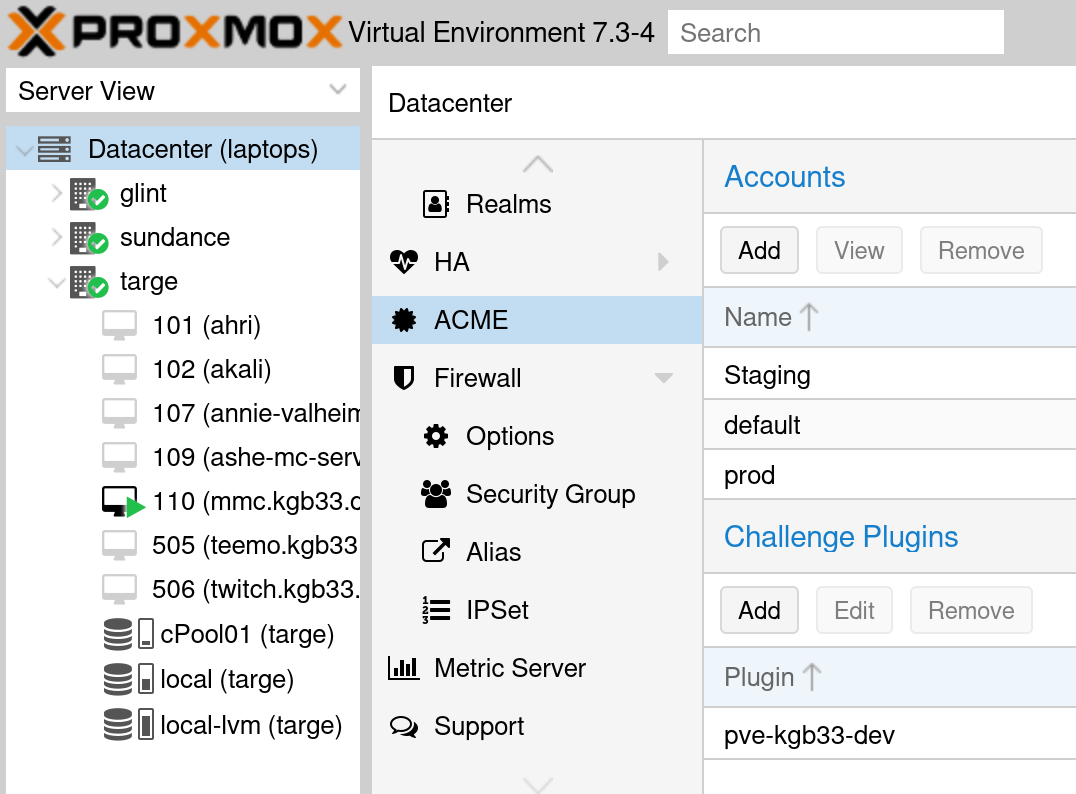
To start, you have to create a ACME account. In the Web UI, under “Datacenter”, click on the “ACME” tab. Then, create a Let’s Encrypt account - make sure to select the production ACME directory.

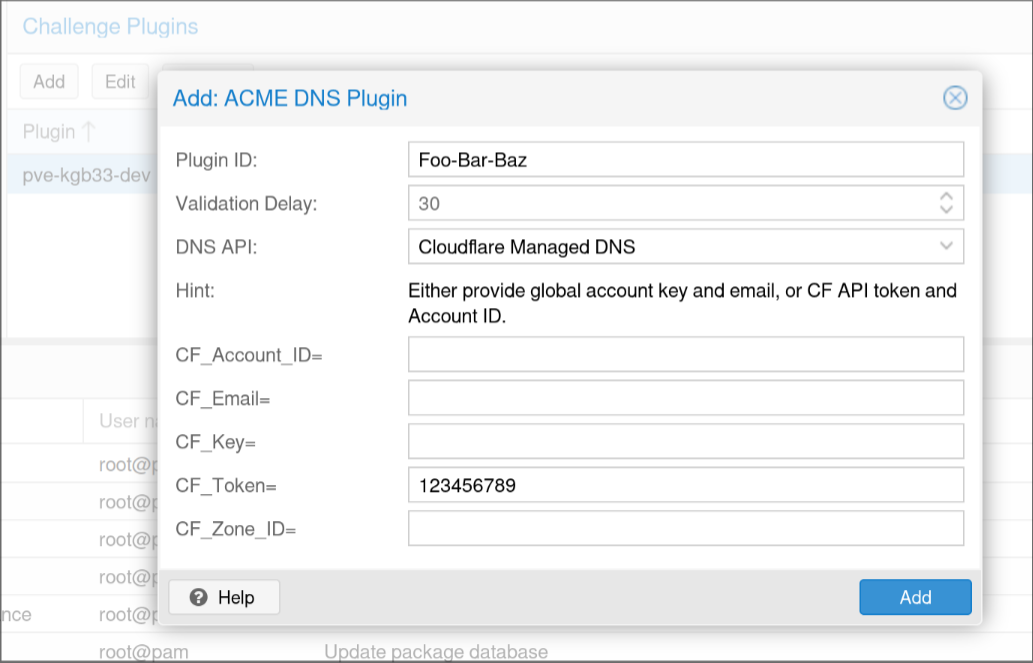
Now I don’t want my personal Proxmox server directly exposed to the public internet, so the HTTP challenge is out. To use the DNS challenge you have to create a “Challenge Plugin”. This tells the ACME client how to communicate to your public DNS provider. I use Cloudflare, and all I needed was to provide an API token with Zone write access.

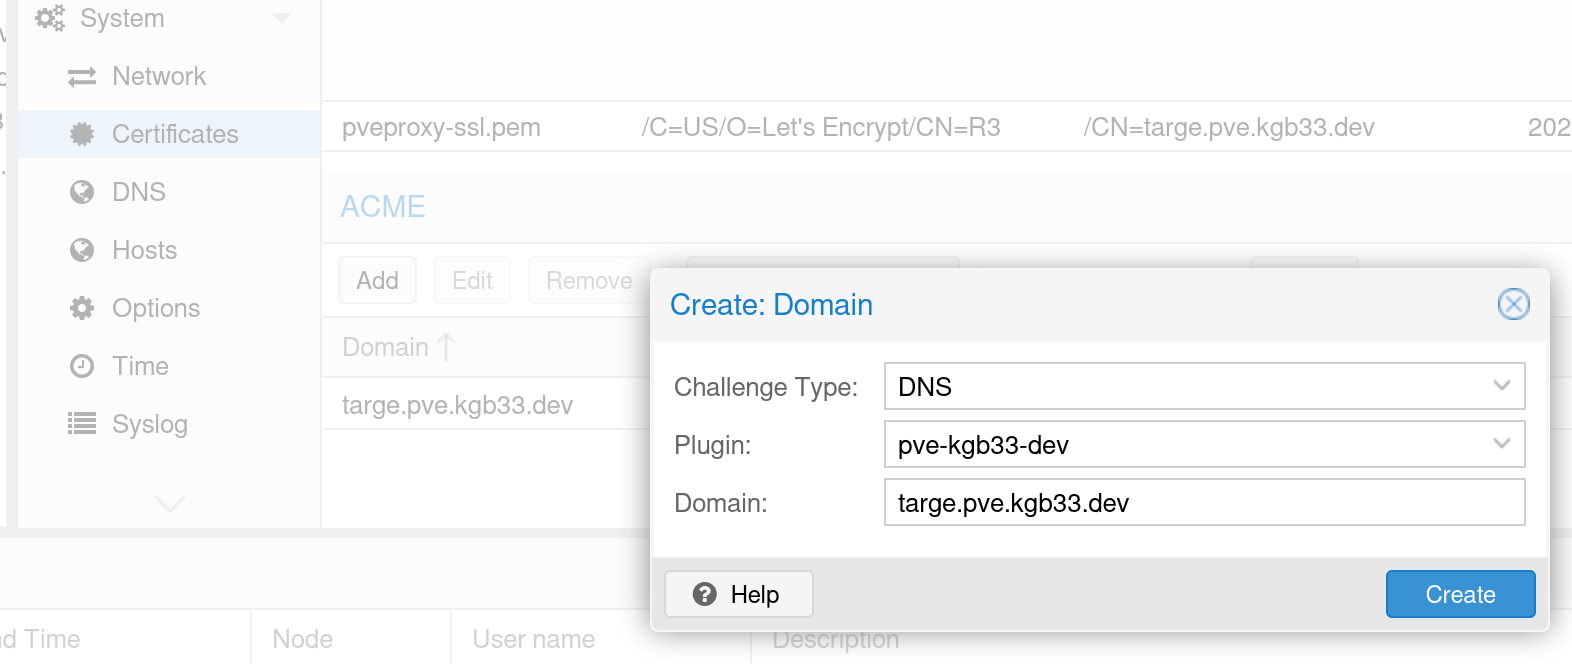
Next, go to the node you want to order certificates for & navigate to the “Certificates” section under “System”. Under “ACME” add a new domain, change the challenge type to “DNS”, select the plugin you just made, and add your domain.

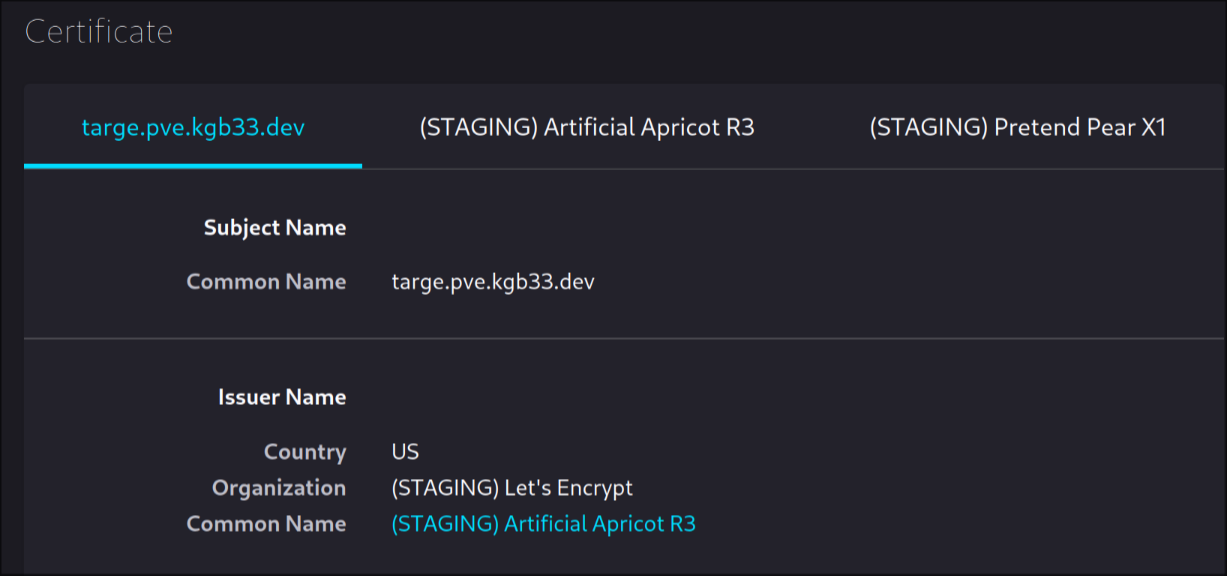
Now all that’s left is to order the certificates. Change the account to “Staging” and hit “Order Certificates Now”. After the order completes, navigate back to the Web UI using the domain name. If all went well you’ll get a scary looking invalid certificate warning. If you inspect the certificate the issuer name should be “(STAGING) Let’s Encrypt”

Navigate back to the Web UI using the IP address, change the ACME account to the production one you made in the first step, and re-order your certificates now.
Congratulations, you now have valid HTTPs certificates!